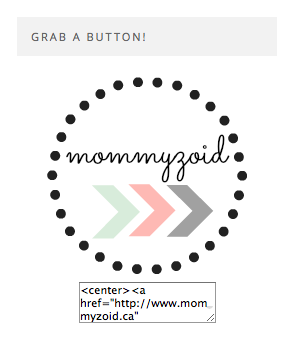
No doubt you’ve seen these handy dandy little guys on the side of many blogs or in link-ups. Adding just a short piece of code gives followers the ability to easily copy the code and add your blog link and image to their blog and in turn, come back week after week while advertising your blog on theirs. Have you ever wanted to put one on your blog but thought, “I can’t code!!”? Never fear I’m going to teach you how to make your very own. I promise it’s not too hard. If you can’t figure it out, I’d be happy to help you out! If anyone knows what these are called, let me know in the comments! I keep calling it a “Grab My Button” and everyone seems to know what I’m talking about so I’ll go with it!
Here’s the exact piece of code I used to create the one on the sidebar on my blog:
<div align=”center”>
<a href=”http://www.mommyzoid.ca” target=”_blank”><img alt=“mommyzoid” src=”http://www.mommyzoid.ca/wp-content/uploads/2014/10/mommyzoid-button.png”/></a> </div>
<div align=”center”><form><textarea rows=”3″ cols=”17″><center><a href=”http://www.mommyzoid.ca” target=”_blank”><img alt=“mommyzoid” src=”http://www.mommyzoid.ca/wp-content/uploads/2014/10/mommyzoid-button.png”/></a></center></textarea></form></div>
Now I’m going to highlight in red everything you are going to want to change to make it work for you:
<div align=”center”>
<a href=”http://www.mommyzoid.ca” target=”_blank”><img alt=“mommyzoid” src=”http://www.mommyzoid.ca/wp-content/uploads/2014/10/mommyzoid-button.png“/></a> </div>
<div align=”center”><form><textarea rows=”3″ cols=”17″><center><a href=”http://www.mommyzoid.ca” target=”_blank”><img alt=“mommyzoid” src=”http://www.mommyzoid.ca/wp-content/uploads/2014/10/mommyzoid-button.png“/></a></center></textarea></form></div>
Don’t be intimidated by all the red! I’ll break it down for you.
Where it says http://www.mommyzoid.ca, swap out mine and put your full blog URL including the http://!!
Where it says Mommyzoid, replace it with the name of your blog just to keep things simple. This is just what with come up when your cursor rests over your logo or whichever image you decided to use.
Where it says http://www.mommyzoid.ca/wp-content/uploads/2014/10/mommyzoid-button.png, replace it with the URL of your image. if you’re using WordPress, I’ll show you how you can find your image URL very simply.
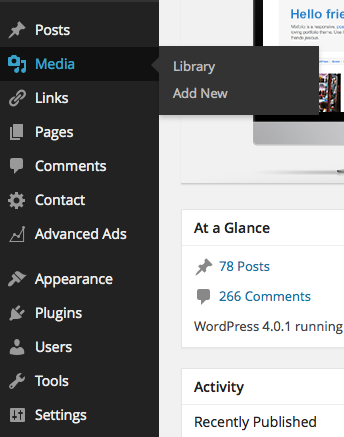
On your dashboard you’re going to go over to the sidebar and click Media.
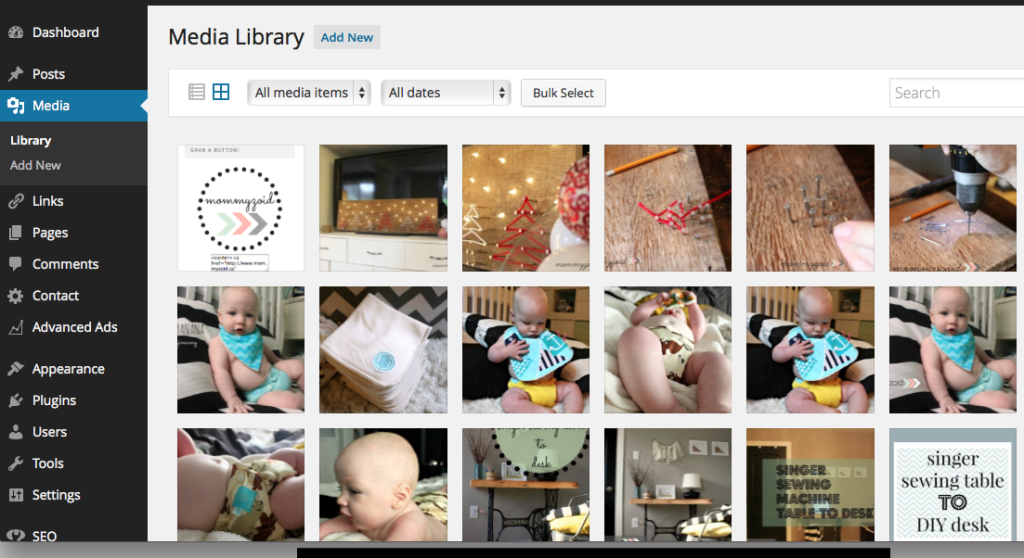
Either add a new photo or select one you’ve already uploaded to your Media Library.
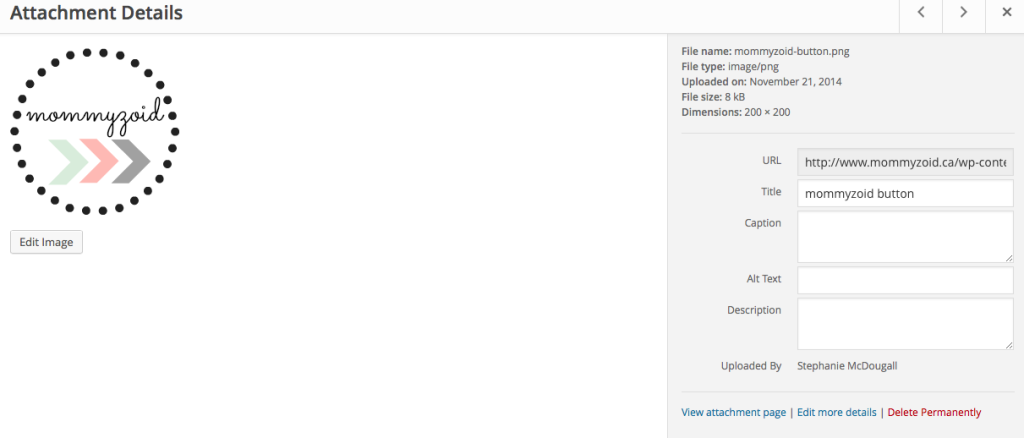
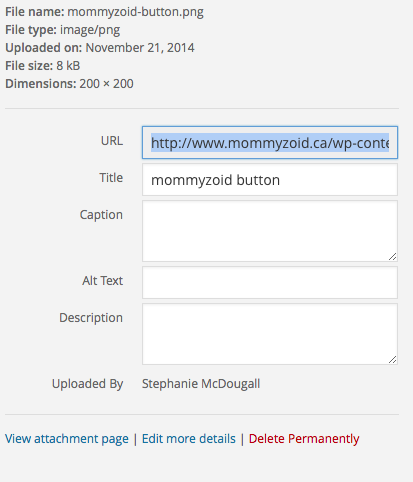
When you select the image you want to use, your Attachment Details will open up. This is where you will find the URL for address for the image.
Copy the full URL address and insert it into the HTML code from above.
VOILA. You should have your HTML code to place into a text widget in your sidebar or in a post on your blog. Remember, you’re going to insert it via the text tab, not the visual tab when creating a post on WordPress.
Easy peasy? Feel free to comment below with any questions you have or if you have any road blocks.
If you’re looking to learn more about blogging and ways you can increase traffic to your blog, check out Building a Framework* by Abby Lawson. She’s the brains and beauty behind Just A Girl & Her Blog and she created this ebook that i devoured and in turn applied as much as I could to my blog!
PS: I’ll be sharing this post with these fabulous blogs!
Asterisk denotes a paid link. If you decide to make a purchase after following a link, I make a commission for the sale. Don’t worry, it doesn’t cost you more! Check out my disclosure here.
